GitLab是专为Unix操作系统开发的且不可运行在Windows操作系统上。强烈建议使用Omnibus包安装GitLab工具,因为它安装起来更快、更容易升级版本,而且包含了其他安装方式所没有的可靠性功能。同时强烈推荐承载GitLab运行的服务器至少分配4GB的内存给GitLab服务。少于4GB内存会导致在reconfigure的时候出现各种诡异的问题, 而且在使用过程中也经常会出现500错误。

1. 安装并配置必要的依赖关系
我的阿里云系统是
CentOS7.4的系统, 所以在 Gitlab 中文网站 中直接选择CentOS7的安装方式。
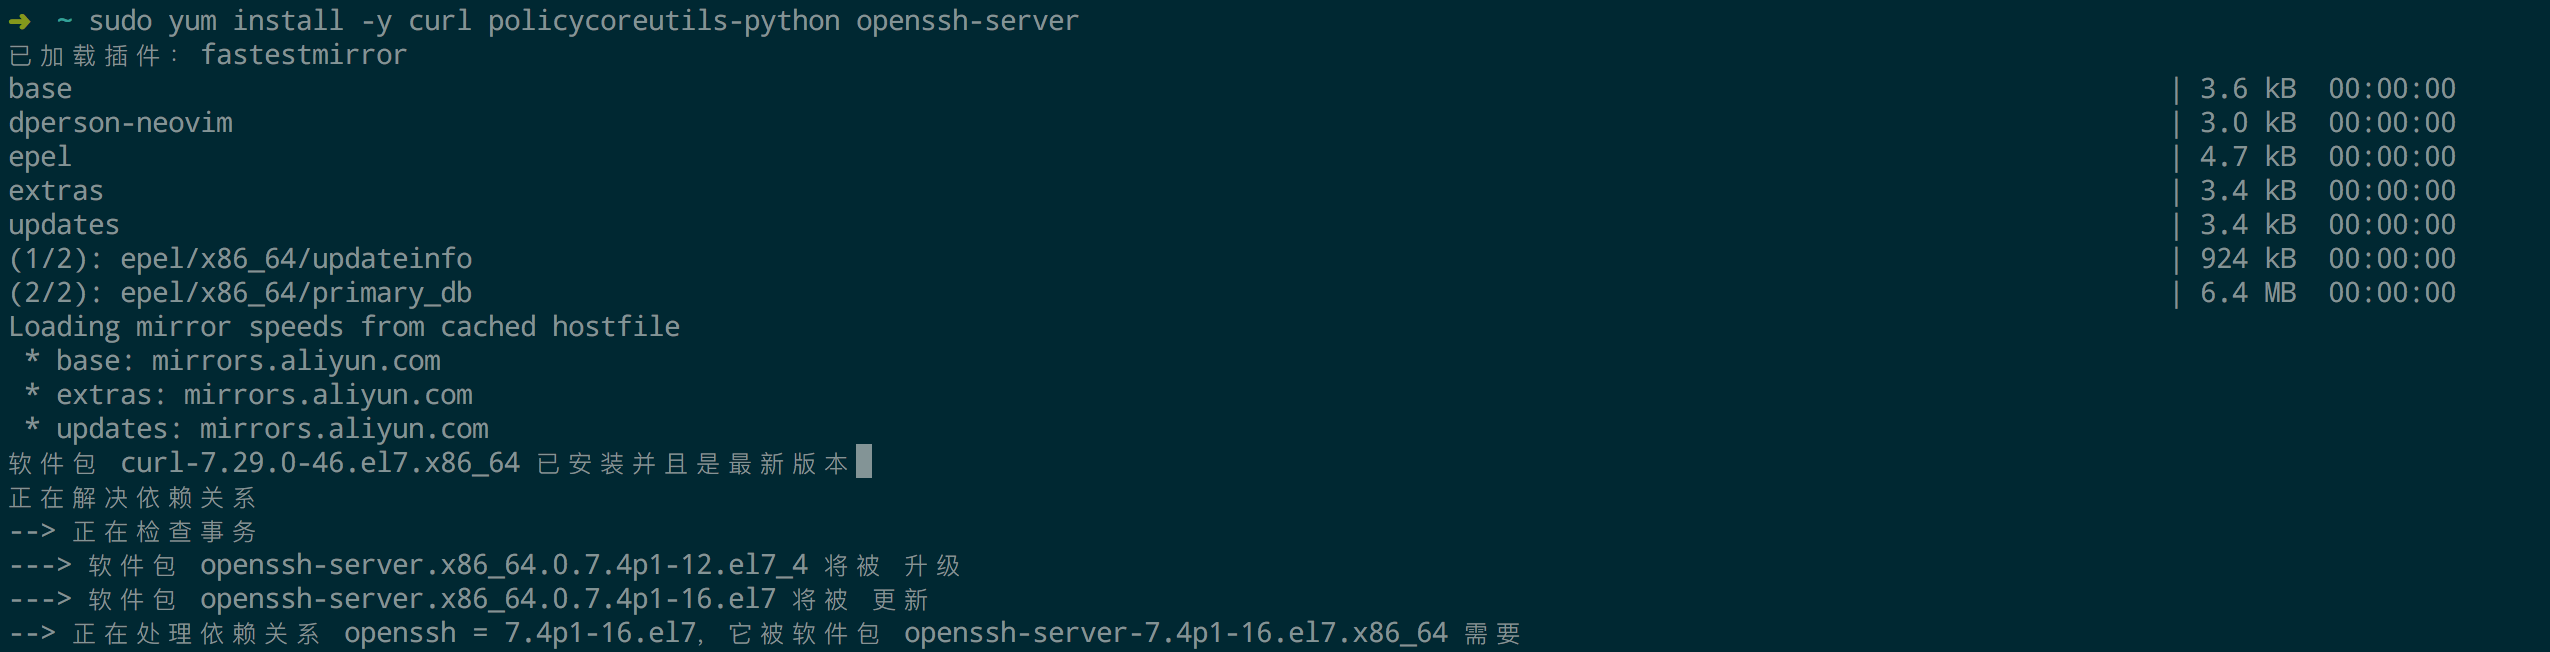
# 在系统防火墙中打开HTTP和SSH访问
[root@node ~]# yum install -y curl policycoreutils-python openssh-server
[root@node ~]# systemctl enable sshd
[root@node ~]# systemctl start sshd
[root@node ~]# firewall-cmd --permanent --add-service=http
[root@node ~]# systemctl reload firewalld

# 在执行第四条命令的时候,会提示firewalld防火墙没有启动,这里需要手动启一下
[root@node ~]#systemctl start firewalld.service

# 安装Postfix邮件通知服务
# 这一步其实是可以省略的,因为在安装完Gitlab之后还可以进行配置的
[root@node ~]# yum install postfix
[root@node ~]# systemctl enable postfix
[root@node ~]# systemctl start postfix
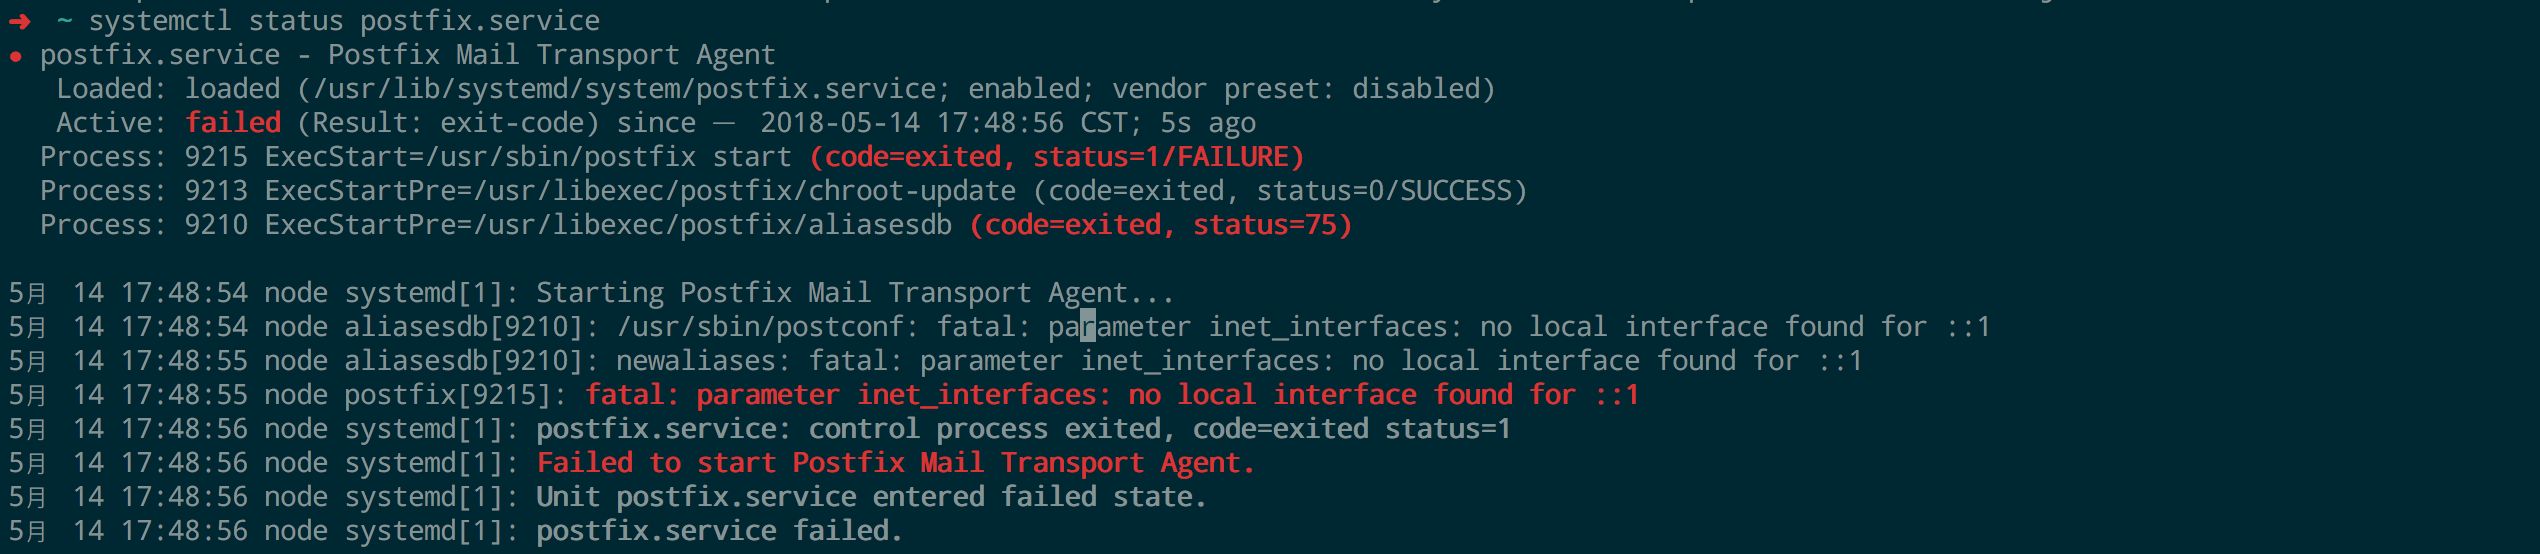
# 启动Postfix邮件服务的时候,会报错和IPv6有关,解决办法就是让postfix只用IPv4
[root@node ~]# vim /etc/postfix/main.cf
inet_protocols = ipv4
......

# 重启服务
[root@node ~]# service postfix restart
2. 添加 GitLab 的源并安装 gitlab-ee 包
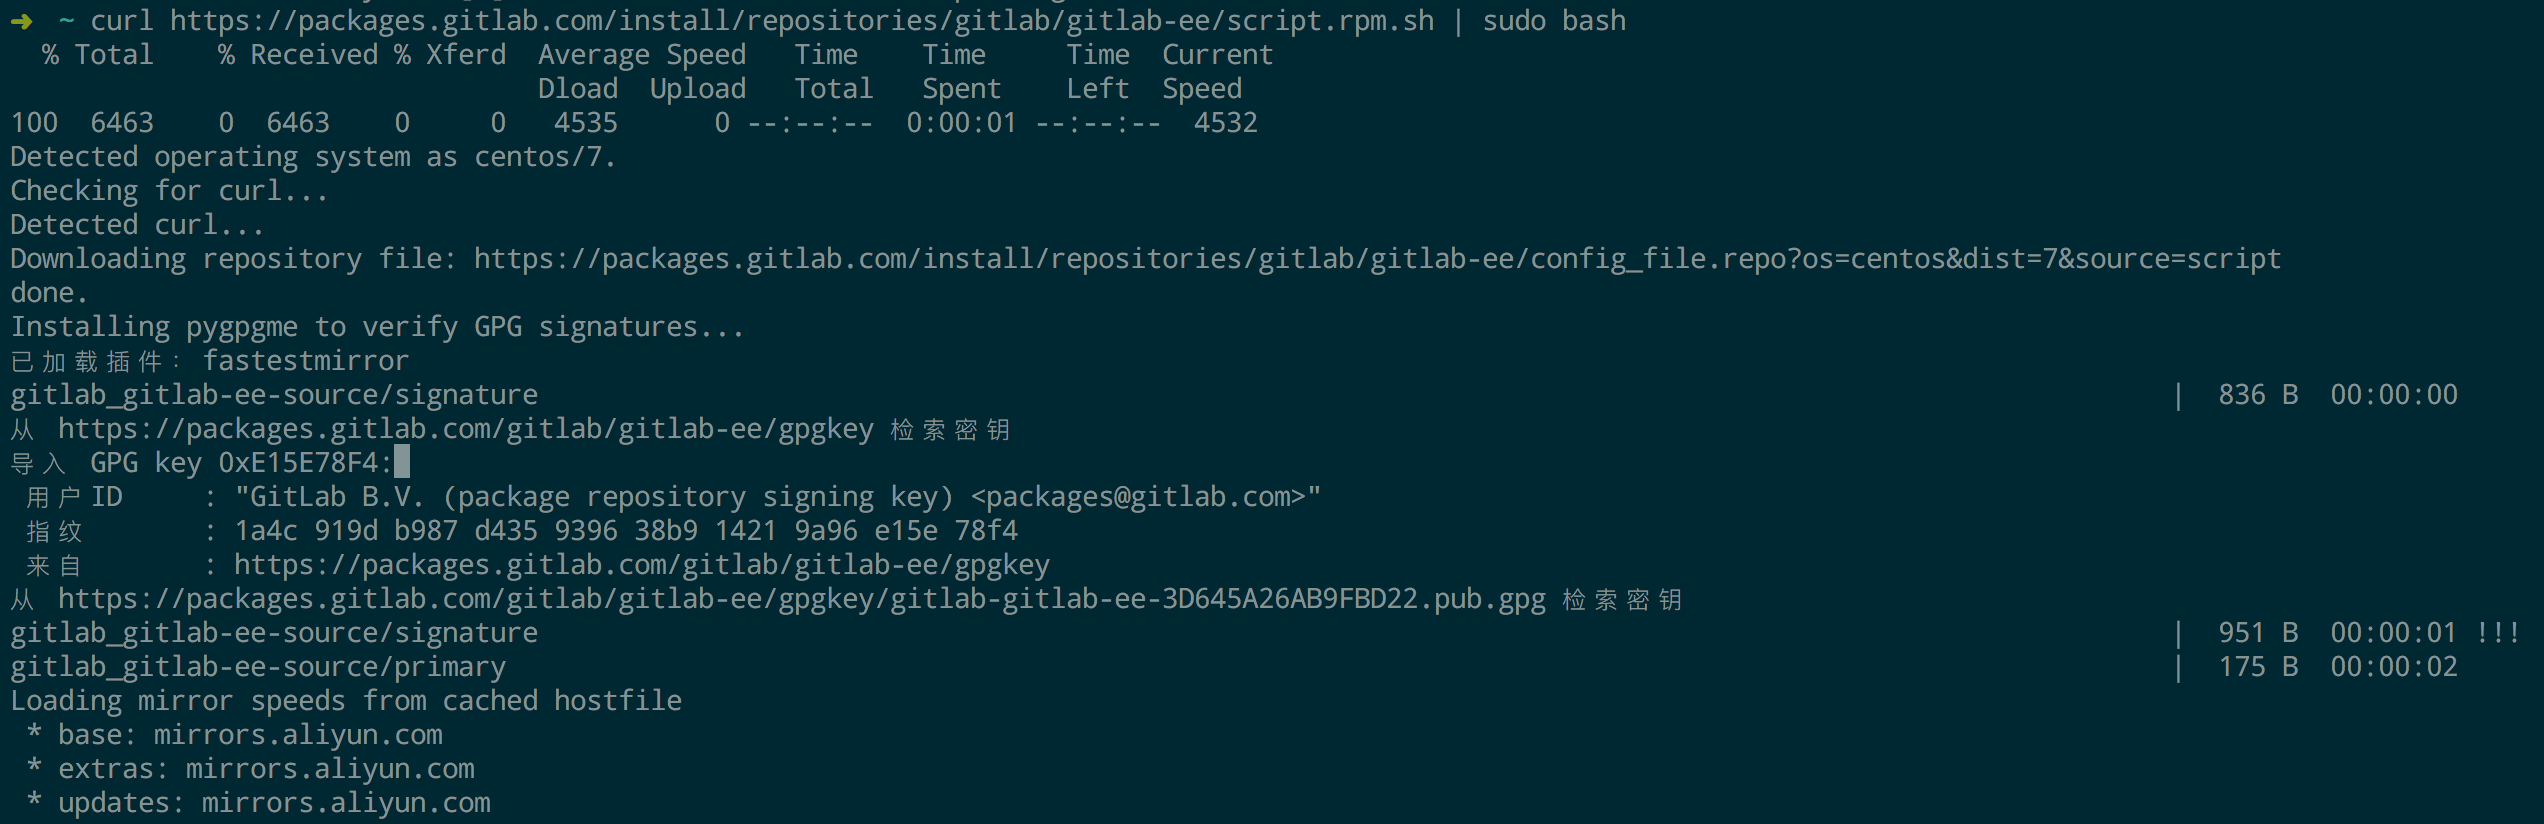
# 添加Gitlab的源
[root@node ~]# curl https://packages.gitlab.com/install/repositories/gitlab/gitlab-ee/script.rpm.sh | sudo bash
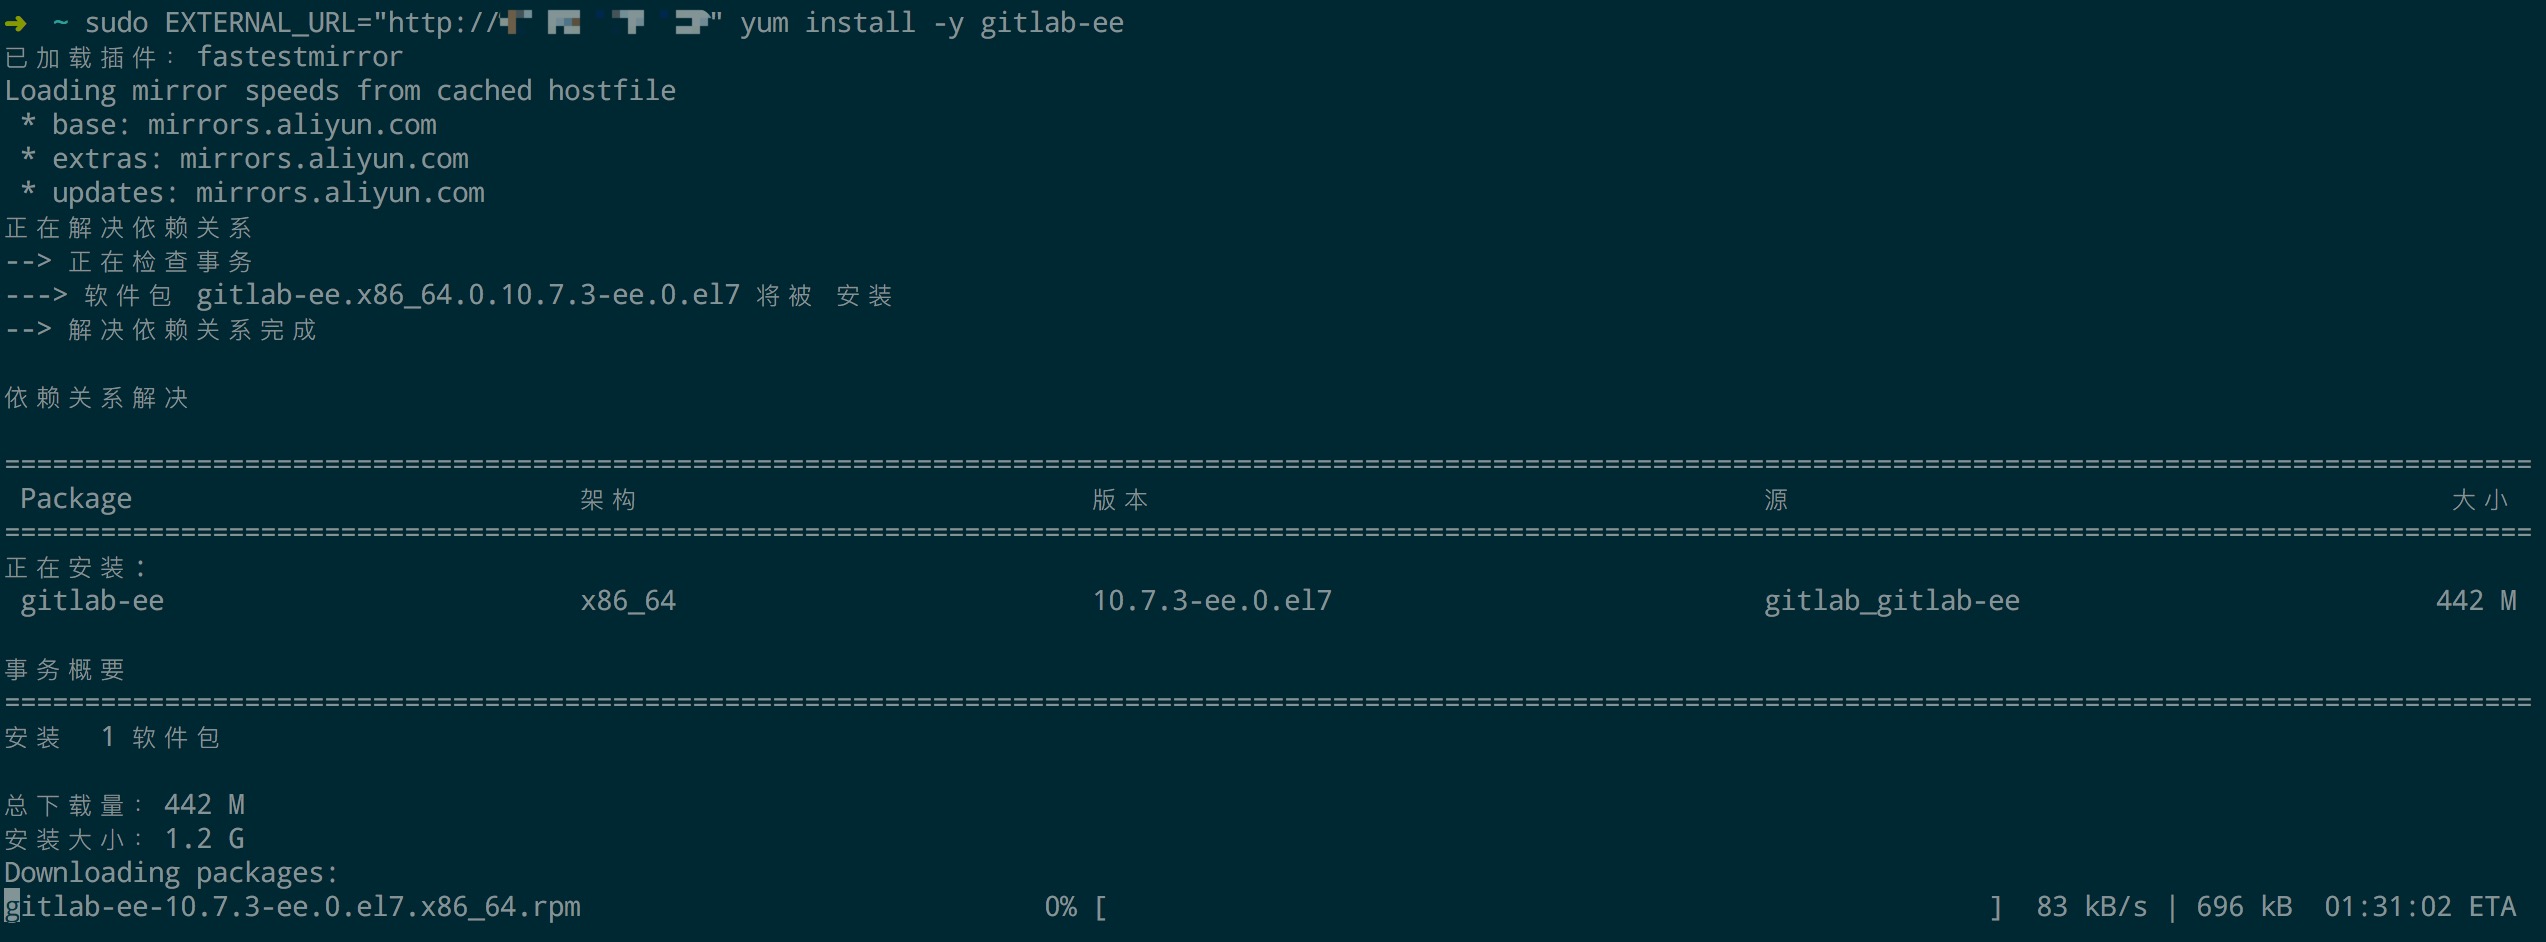
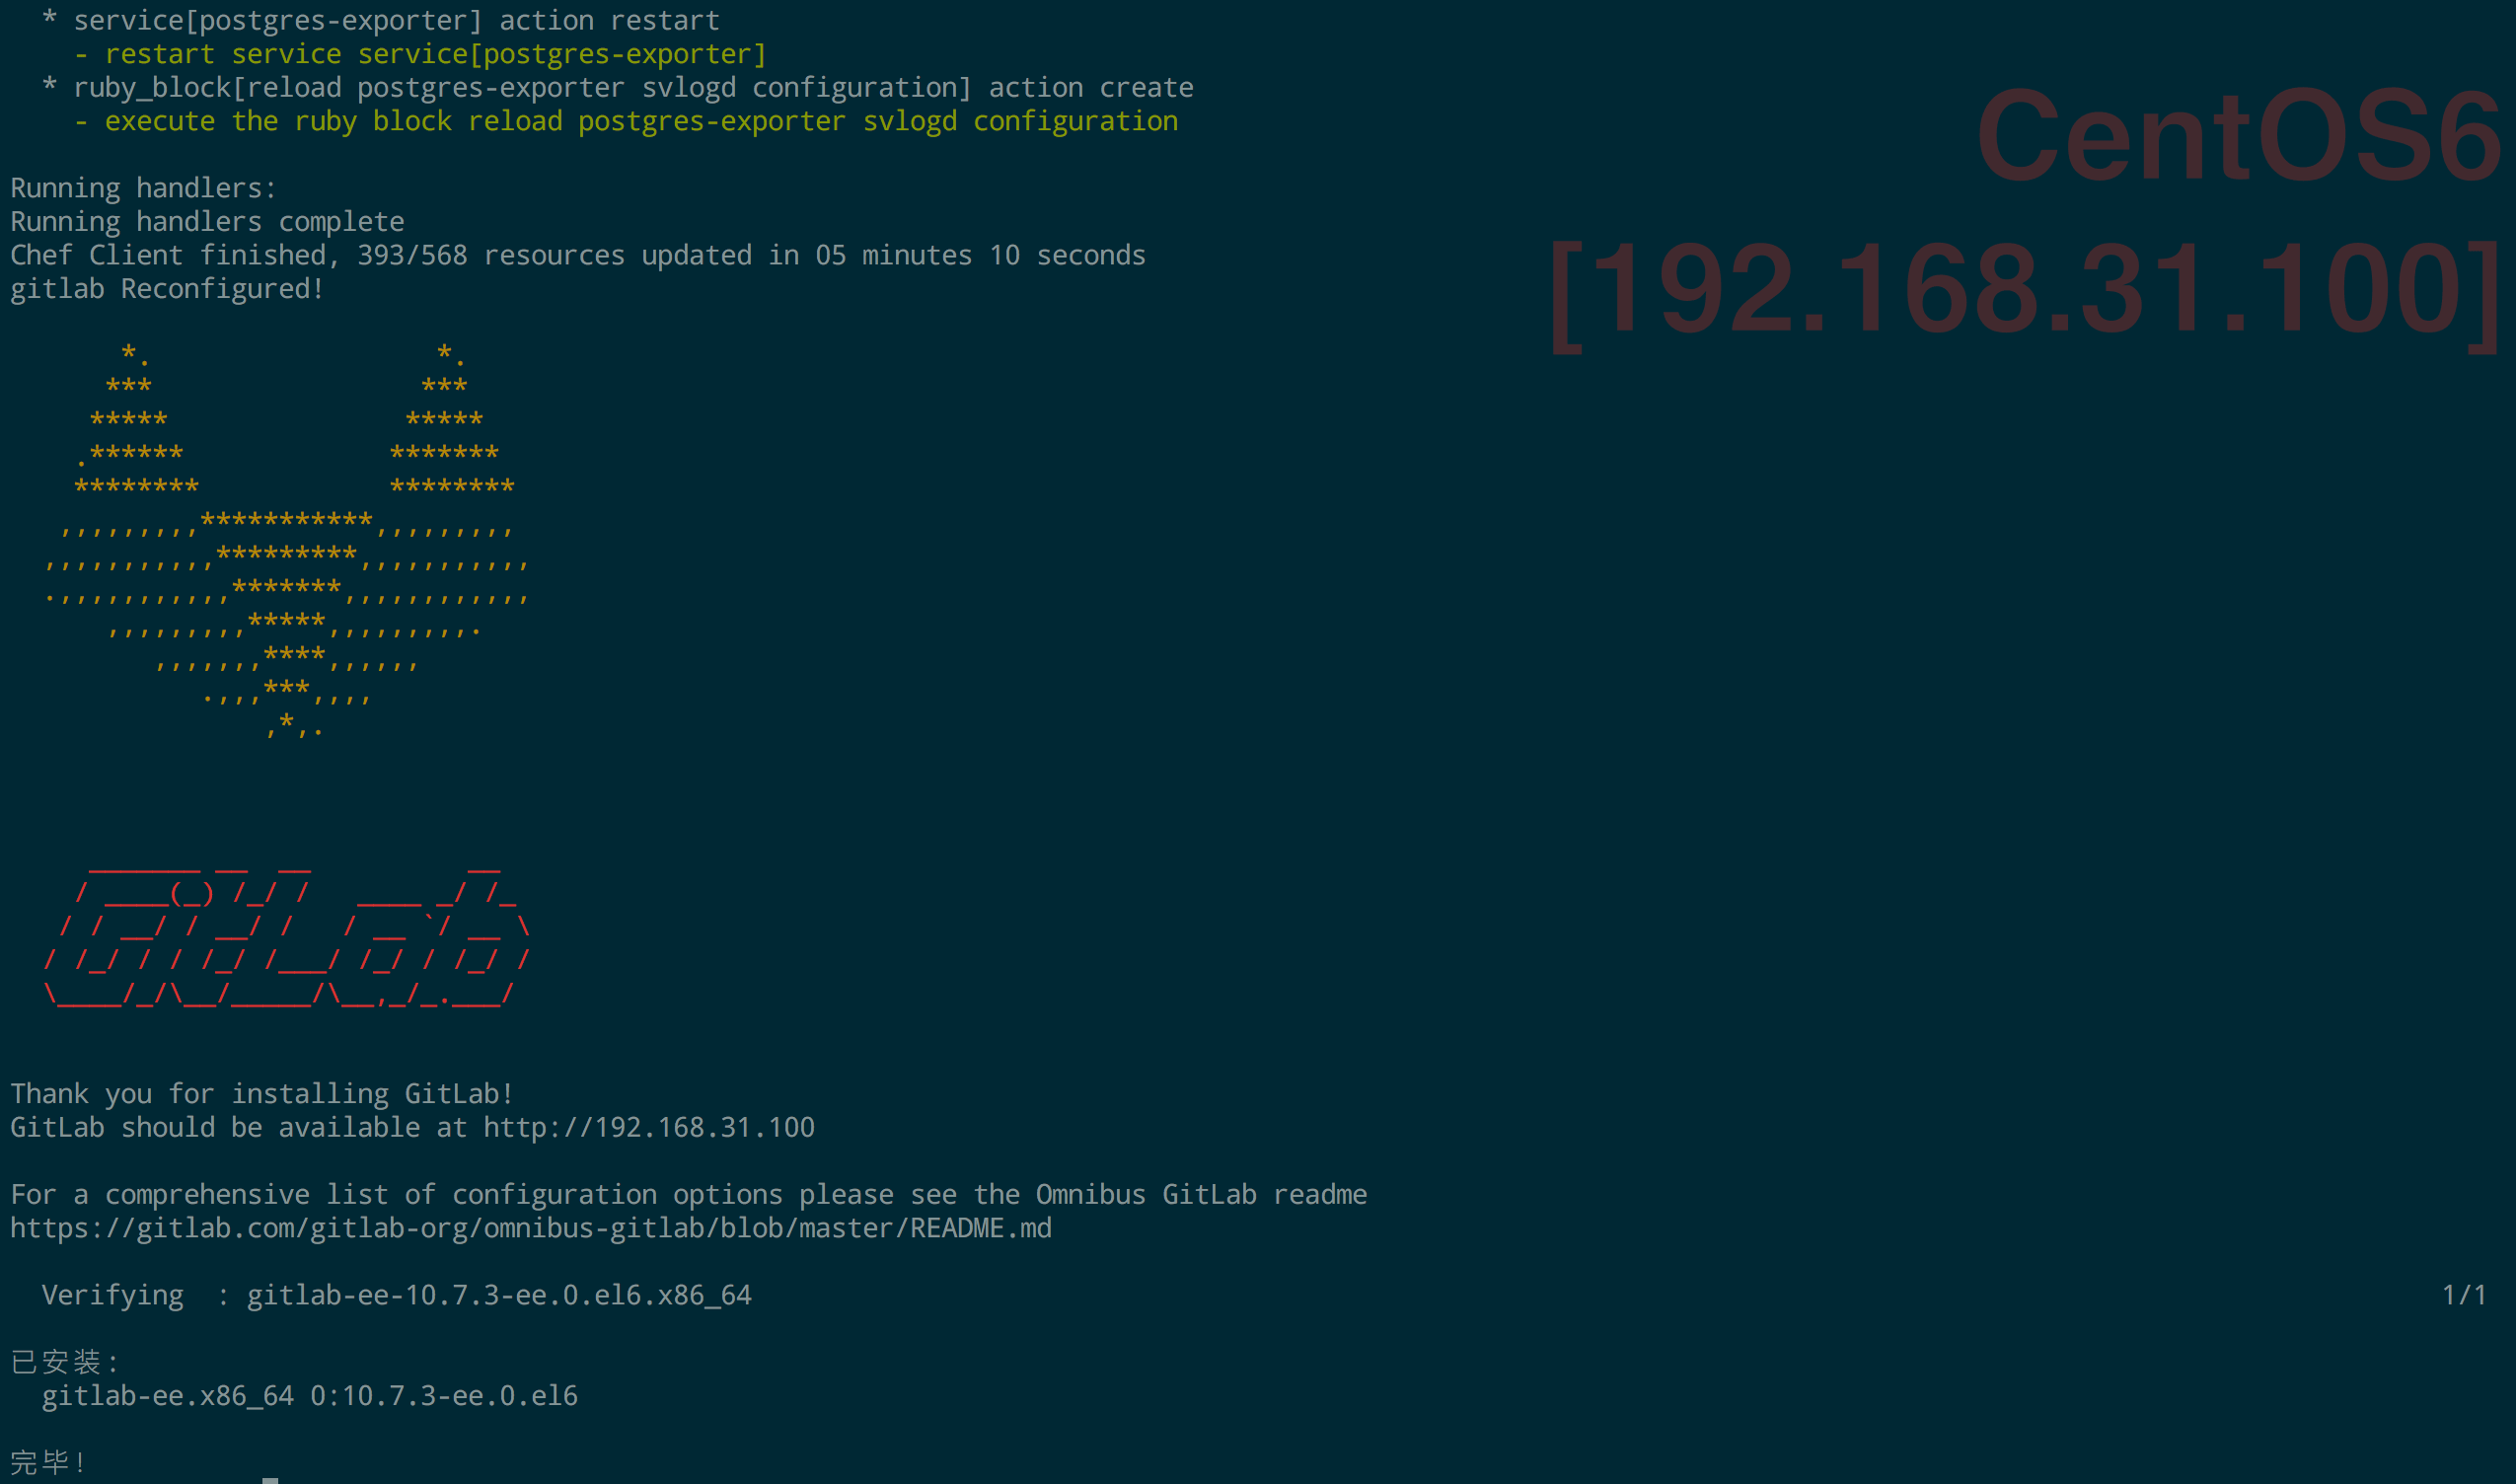
# 安装gitlab-ee包并配置Gitlab访问的域名
# 这里的域名gitlab.example.com可以换成公网IP地址
[root@node ~]# EXTERNAL_URL="http://gitlab.example.com" yum install -y gitlab-ee
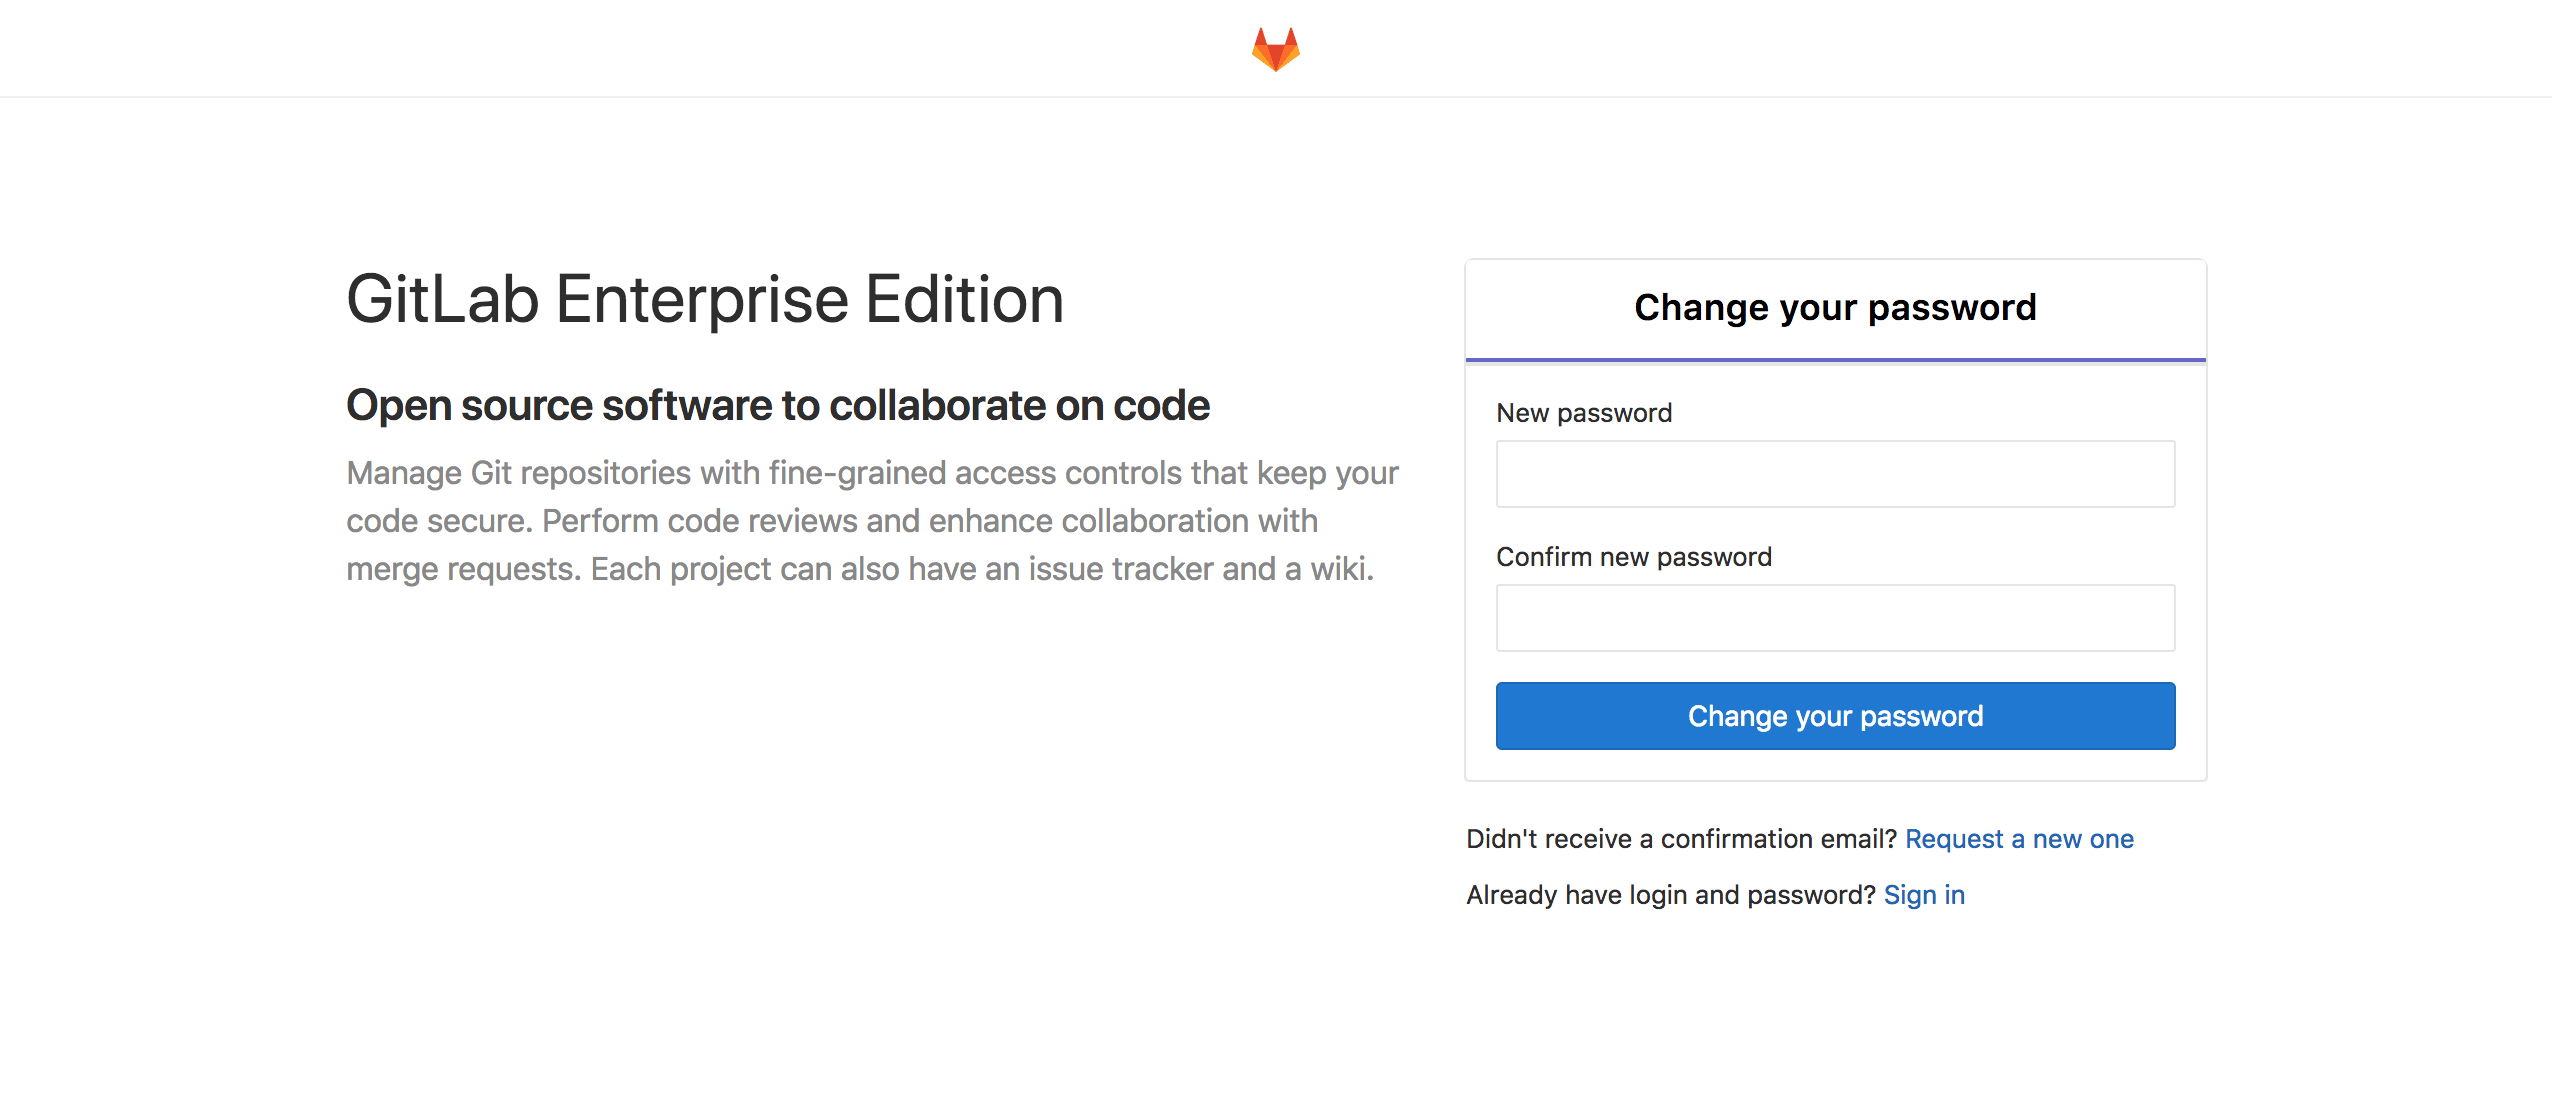
3. Gitlab 账户和登录
在浏览器中输入上一步配置的域名或者公网 IP 地址,进行初始密码的设置,之后进行登录即可。
4. 修改 IP 的端口号
Gitlab 默认采用 80 端口提供服务,如我们需要其他服务使用 80 端口,则需更改 Gitlab 的默认端口,比如改为 8888。
# 打开阿里云服务器防火墙的8888端口
[root@node ~]# systemctl start firewalld
[root@node ~]# firewall-cmd --zone=public --add-port=8082/tcp --permanent
[root@node ~]# systemctl restart firewalld
# 修改Gitlab默认端口配置
[root@node ~]# vim /etc/gitlab/gitlab.rb
external_url '47.63.xxx.179:8888'

# 重载Gitlab的配合文件
[root@node ~]# gitlab-ctl reconfigure
5. 常用的命令
# 启动
[root@node ~]# gitlab-ctl star

# 停止
[root@node ~]# gitlab-ctl stop

# 重启
[root@node ~]# gitlab-ctl restart

# 使更改配置生效
[root@node ~]# gitlab-ctl reconfigure