截取自《git-scm.com》,如有侵权即刻删除。
签署标签与提交很棒,但是如果决定在正常的工作流程中使用它,你必须确保团队中的每一个人都理解如何这样做。如果没有,你将会花费大量时间帮助其他人找出并用签名的版本重写提交。在采用签署成为标准工作流程的一部分前,确保你完全理解 GPG 及签署带来的好处。

1. GPG 安装
这是一个完美的备注信息!
- MacOS
# 安装工具
$ brew uninstall gpg
$ brew install gpg2
$ brew install pinentry-mac
$ pinentry-program /usr/local/bin/pinentry-mac

# 选择秘钥类型
$ gpg --full-generate-key

# the GPG config
$ echo no-tty >> ~/.gnupg/gpg.conf
$ git config --global gpg.program /usr/local/bin/gpg
- Windows
# 我自己没试过
$ sed -i '/^no-tty/d' ~/.gnupg/gpg.conf
$ git config --global --unset gpg.program
2. GPG 介绍
这是一个完美的备注信息!
Git 虽然是密码级安全的,但它不是万无一失的。如果你从因特网上的其他人那里拿取工作,并且想要验证提交是不是真正地来自于可信来源,Git 提供了几种通过 GPG 来签署和验证工作的方式。在开始签名之前你需要先配置 GPG 并安装个人密钥。
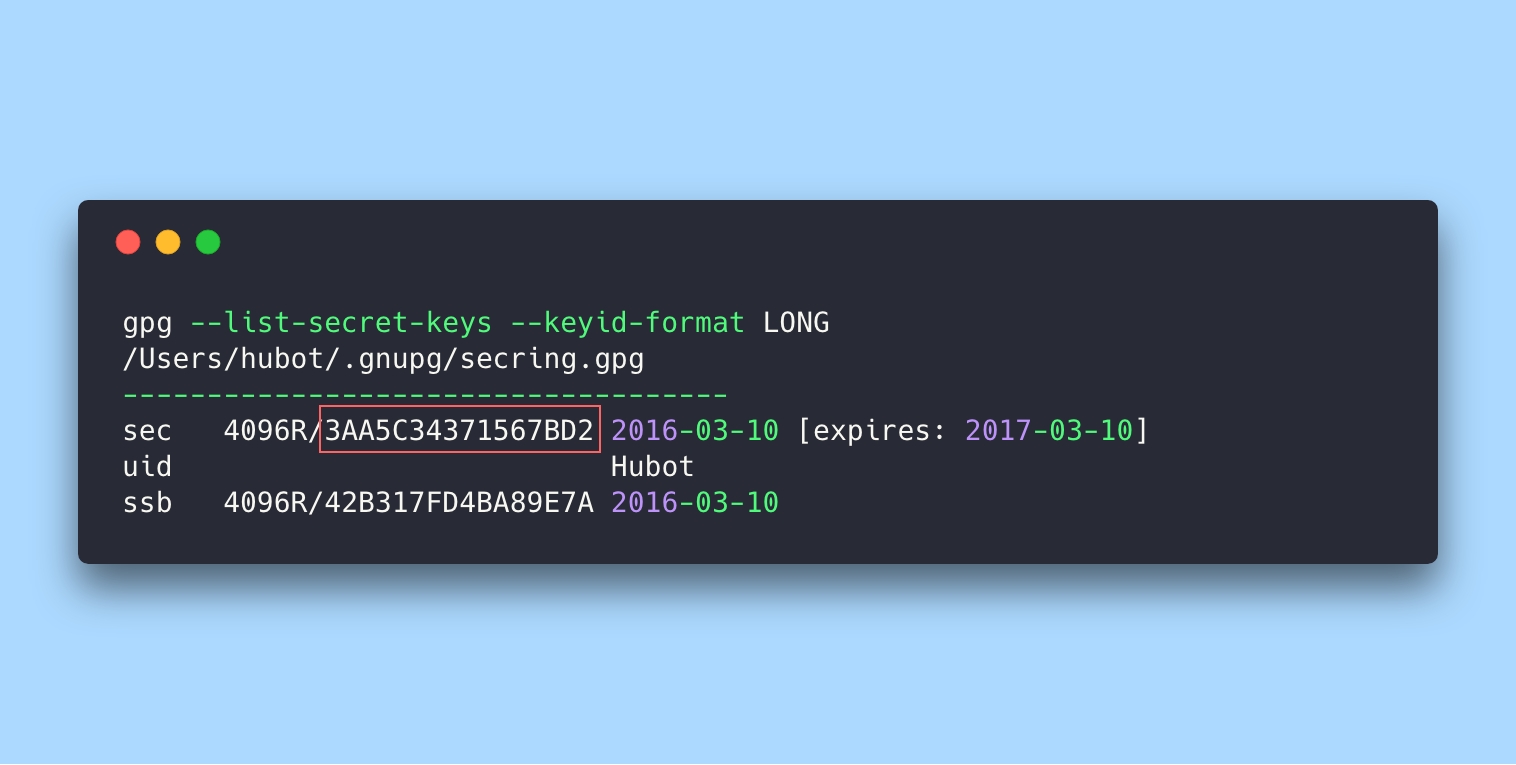
$ gpg --list-keys
/Users/escape/.gnupg/pubring.kbx
--------------------------------
pub   rsa2048 2020-04-18 [SC] [expires: 2022-04-18]
      C174E50D123452BA2EEA10223EAB1C5CF88E8888
uid           [ultimate] Escape <[email protected]>
sub   rsa2048 2020-04-18 [E] [expires: 2022-04-18]
如果你还没有安装一个密钥,可以使用 gpg --gen-key 生成一个。一旦你有一个可以签署的私钥,可以通过设置 Git 的 user.signingkey 选项来签署。
# 生成秘钥(输入用户和邮箱之后还需要在输入GPG的秘钥才能够生成)
$ gpg --gen-key
GnuPG needs to construct a user ID to identify your key.
Real name: Escape
Email address: [email protected]
You selected this USER-ID:
"Escape <[email protected]>"
Change (N)ame, (E)mail, or (O)kay/(Q)uit? o
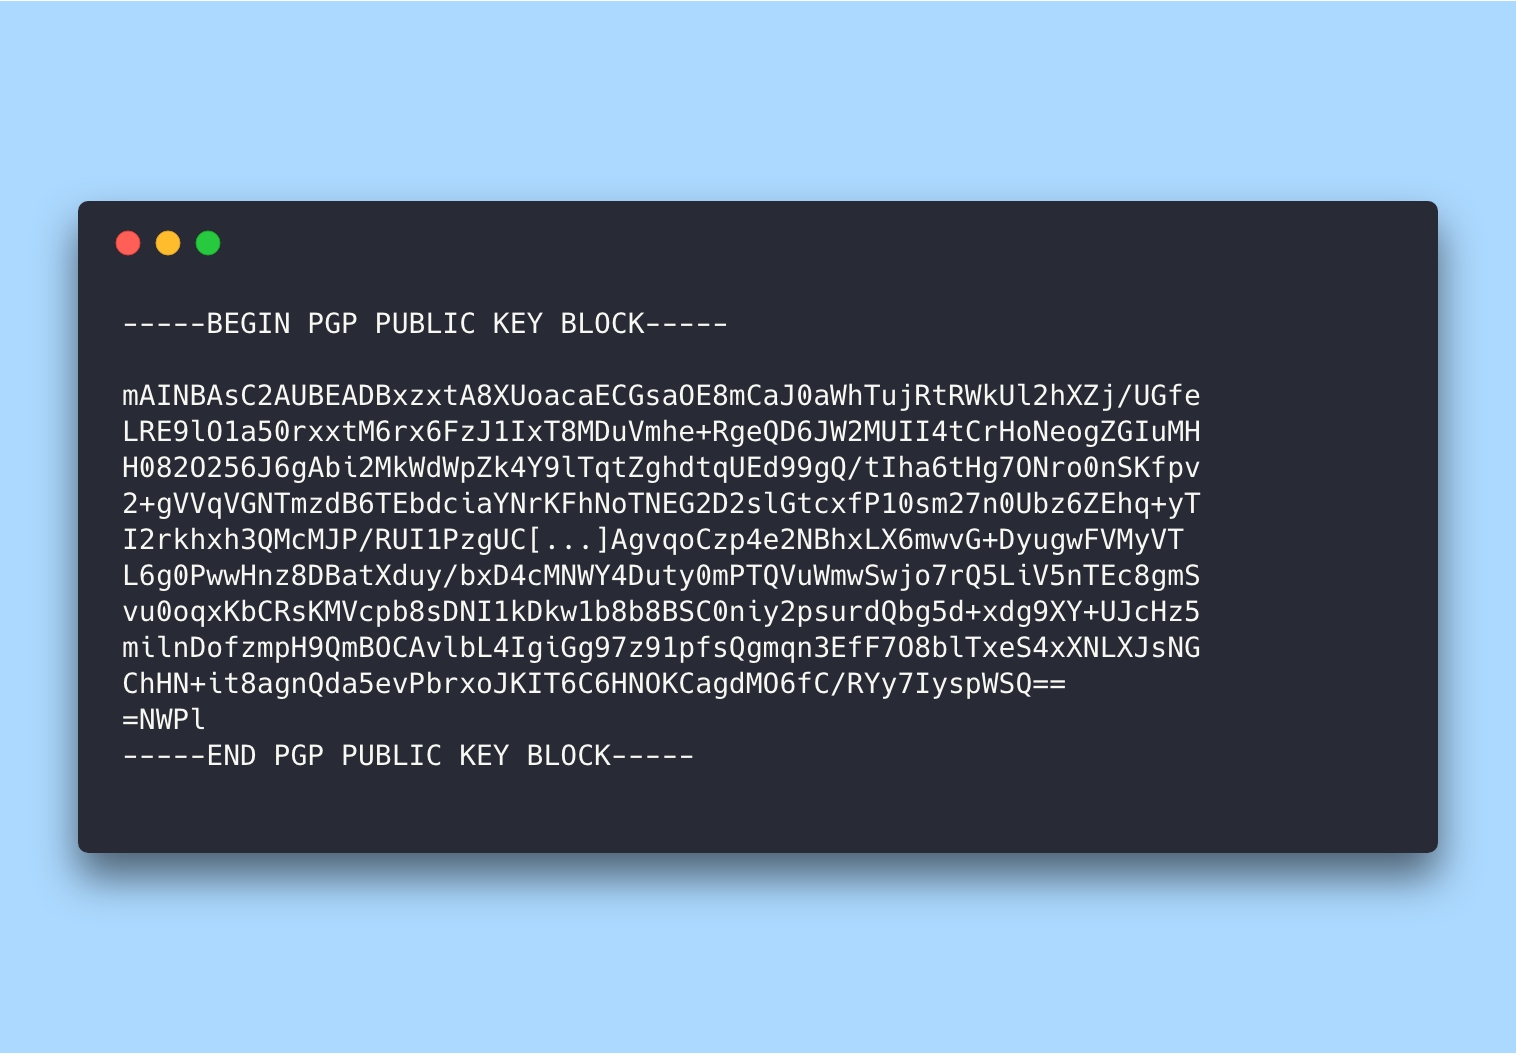
# 按其ID导出ascii格式的密钥
gpg --armor --export C174E50D123452BA2EEA10223EAB1C5CF88E8888
# 全局设置
$ git config --global commit.gpgsign true
$ git config --global user.signingkey 0A46826A

# 配置文件
[github]
    name = Escape
    email = [email protected]
    signingkey = C174E50D123452BA2EEA10223EAB1C5CF88E8888
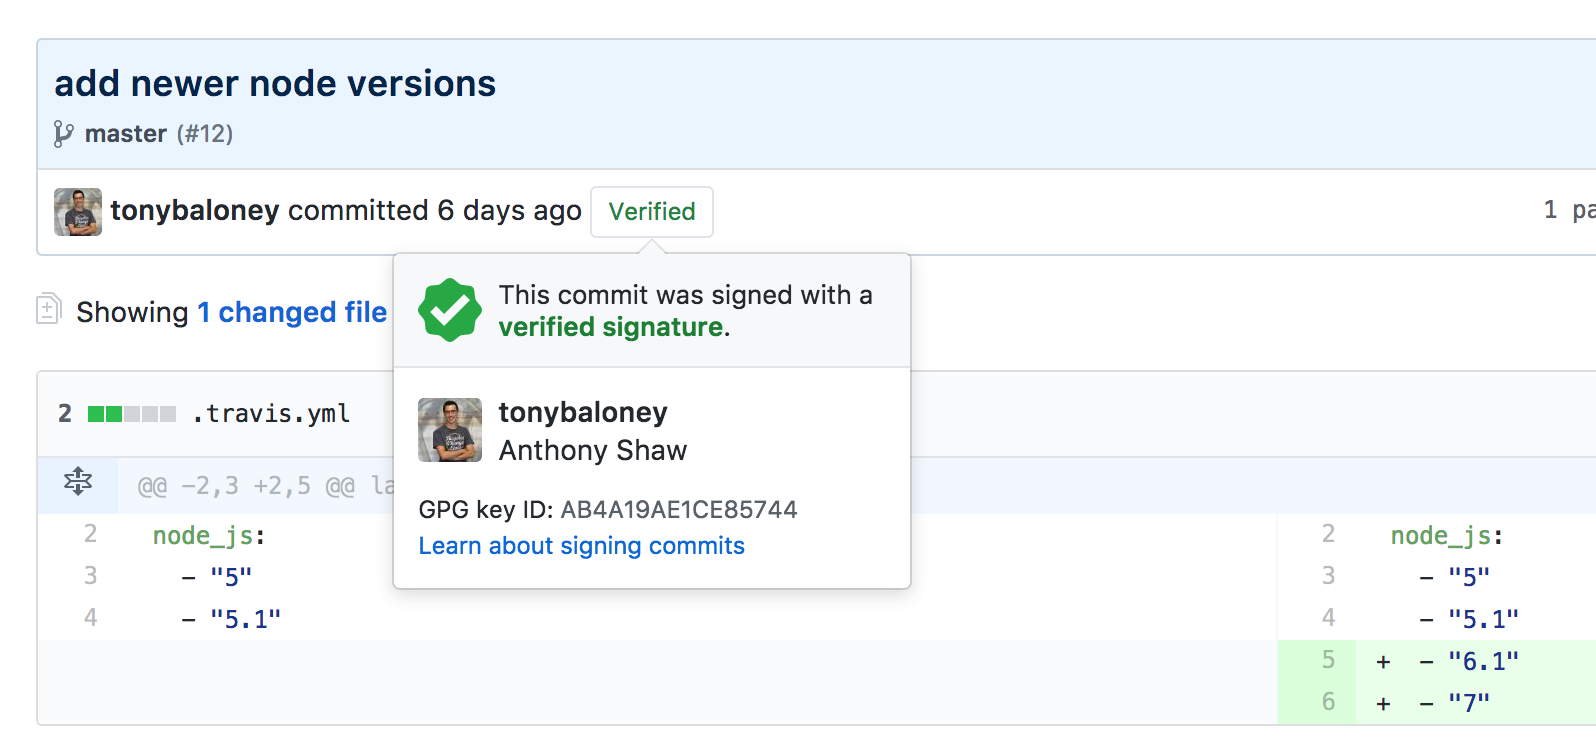
现在,所有通过 GitHub Desktop 创建的提交都将经过签名和验证,客户可以在第一次提交时询问您一个 GPG 密钥代码短语。
# Add file
$ git add .

# Creates a signed commit
$ git commit -S -m "your commit message"

# Push to Github
$ git push
2. 签署标签
这是一个完美的备注信息!
如果已经设置好一个 GPG 私钥,可以使用它来签署新的标签。所有需要做的只是使用 -s 代替 -a 即可。如果在那个标签上运行 git show,会看到你的 GPG 签名附属在后面。
$ git tag -s v1.5 -m 'my signed 1.5 tag'
You need a passphrase to unlock the secret key for
user: "Escape <[email protected]
2048-bit RSA key, ID 800430EB, created 2020-04-18
要验证一个签署的标签,可以运行 git tag -v <tag-name>。这个命令使用 GPG 来验证签名。为了验证能正常工作,签署者的公钥需要在你的钥匙链中。
$ git tag -v v1.4.2.1
object 883653babd8ee7ea23e6a5c392bb739348b1eb61
type commit
tag v1.4.2.1
tagger Escape <[email protected]> 1158138501 -0700

GIT 1.4.2.1
Minor fixes since 1.4.2, including git-mv and git-http with alternates.
gpg: Signature made Mon Sep 13 02:08:25 2020 PDT using DSA key ID F3119B9A
gpg: Good signature from "Escape <[email protected]>"
gpg:                 aka "[jpeg image of size 1513]"
Primary key fingerprint: 3565 2A26 2040 E066 C9A7  4A7D C0C6 D9A4 F311 9B9A
3. 签署提交
这是一个完美的备注信息!
在最新版本的 Git(v1.7.9 及以上) 中,也可以签署个人提交。如果相对于标签而言你对直接签署到提交更感兴趣的话,所有要做的只是增加一个 -S 到 git commit 命令。git log 也有一个 --show-signature 选项来查看及验证这些签名。
# 签名
$ git commit -a -S -m 'signed commit'

# 验证
$ git log --show-signature -1
在 Git 1.8.3 及以后的版本中,git merge 与 git pull 可以使用 --verify-signatures 选项来检查并拒绝没有携带可信 GPG 签名的提交。如果使用这个选项来合并一个包含未签名或有效的提交的分支时,合并不会生效。
$ git merge --verify-signatures non-verify
fatal: Commit ab06180 does not have a GPG signature.
如果合并包含的只有有效的签名的提交,合并命令会提示所有的签名它已经检查过了然后会继续向前。
$ git merge --verify-signatures signed-branch
Commit 13ad65e has a good GPG signature by ecapelife (Git signing key) <[email protected]>
Updating 5c3386c..13ad65e
Fast-forward
 README | 2 ++
 1 file changed, 2 insertions(+)
也可以给 git merge 命令附加 -S 选项来签署自己生成的合并提交。下面的例子演示了验证将要合并的分支的每一个提交都是签名的并且签署最后生成的合并提交。
$ git merge --verify-signatures -S  signed-branch
Commit 13ad65e has a good GPG signature by ecapelife (Git signing key) <[email protected]>

You need a passphrase to unlock the secret key for
user: "ecapelife (Git signing key) <[email protected]>"
2048-bit RSA key, ID 0A46826A, created 2014-06-04

Merge made by the 'recursive' strategy.
 README | 2 ++
 1 file changed, 2 insertions(+)